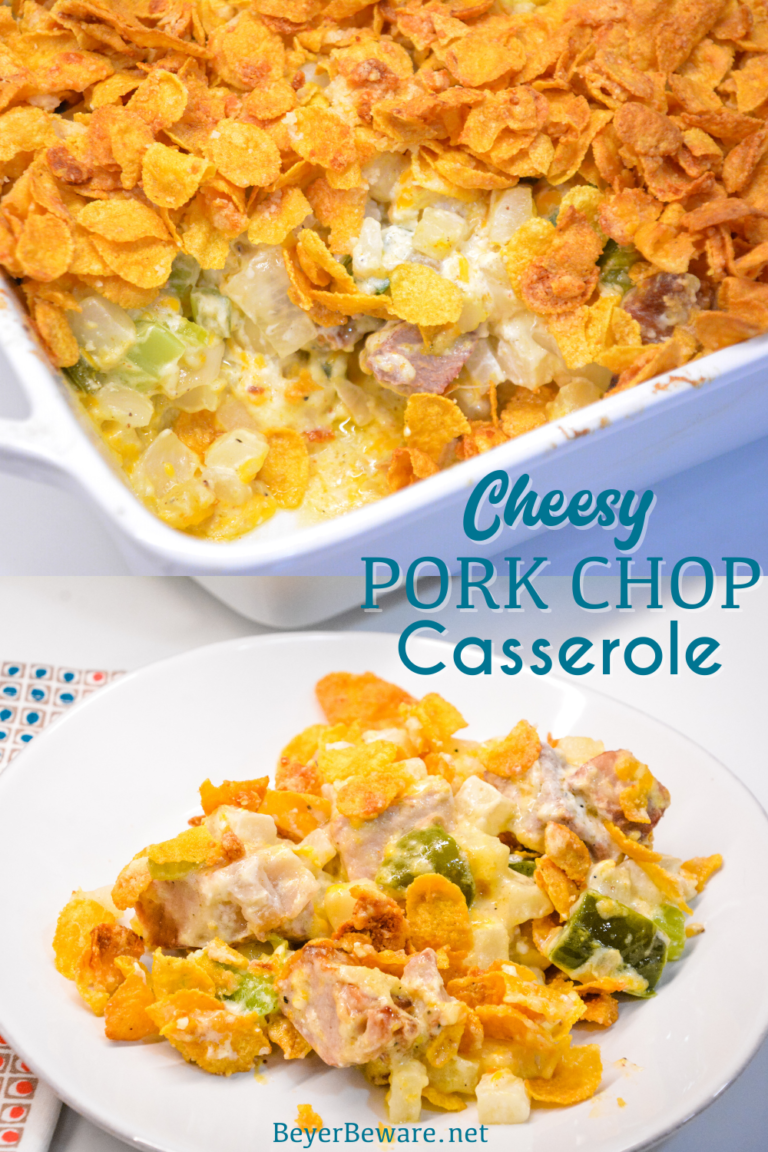
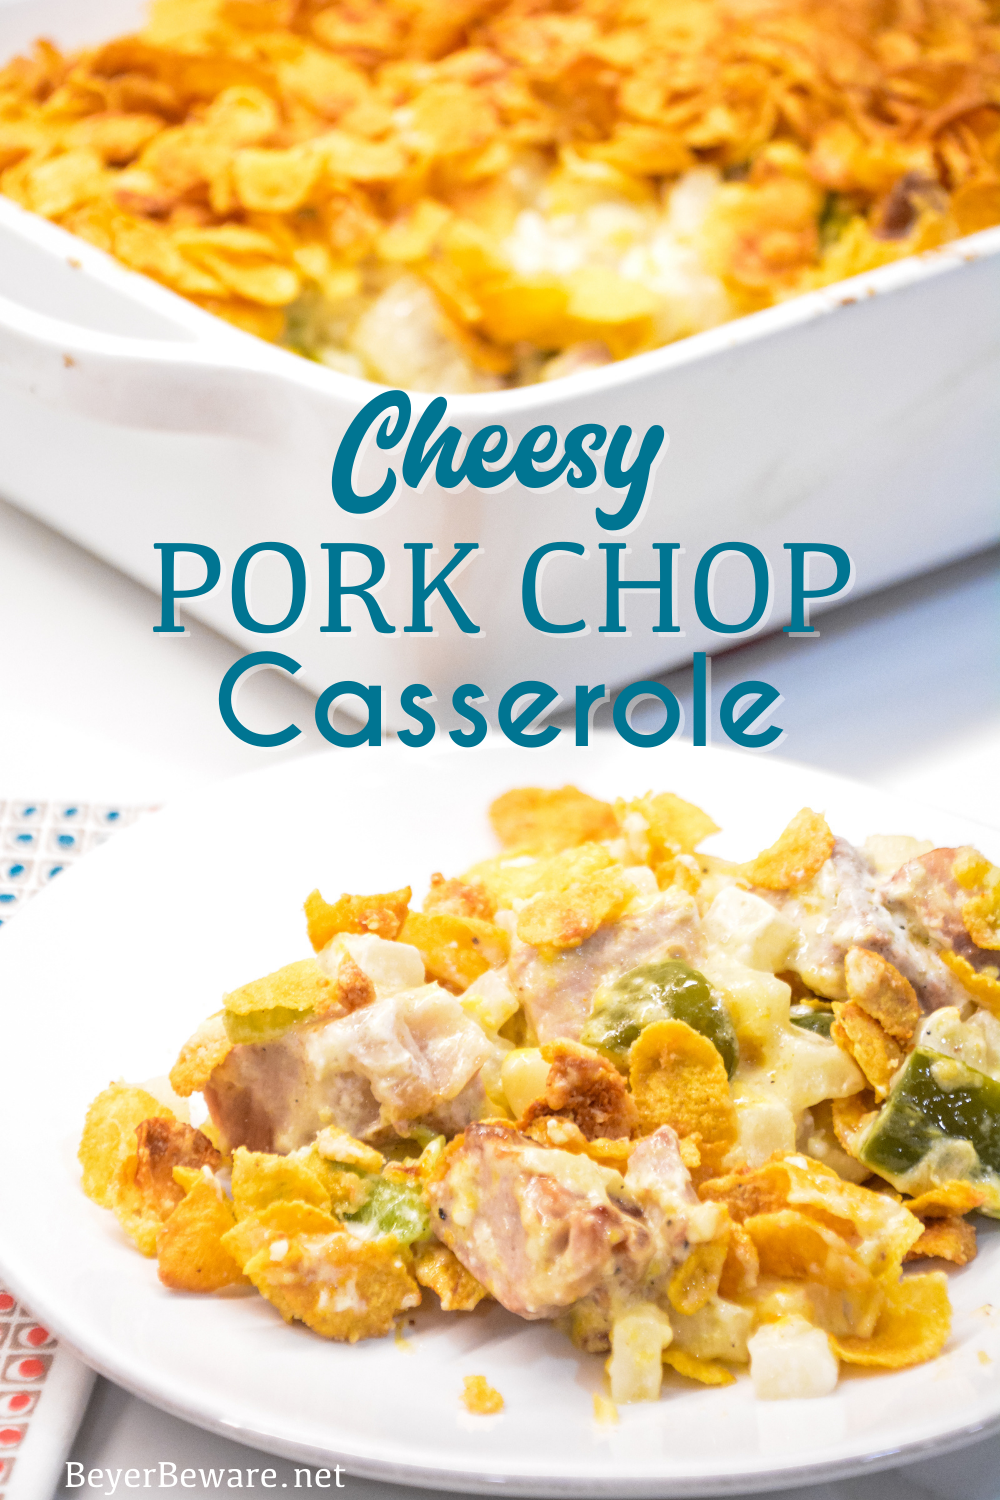
Get ready to indulge in a mouthwateringly cheesy delight with this hilarious recipe for Cheesy Pork Chop Casserole with Rice. This dish is not only easy to make, but it will also leave you feeling oh-so satisfied. So grab your apron and get ready to dive into cheesy heaven!
The Cheesiest Pork Chops Around!

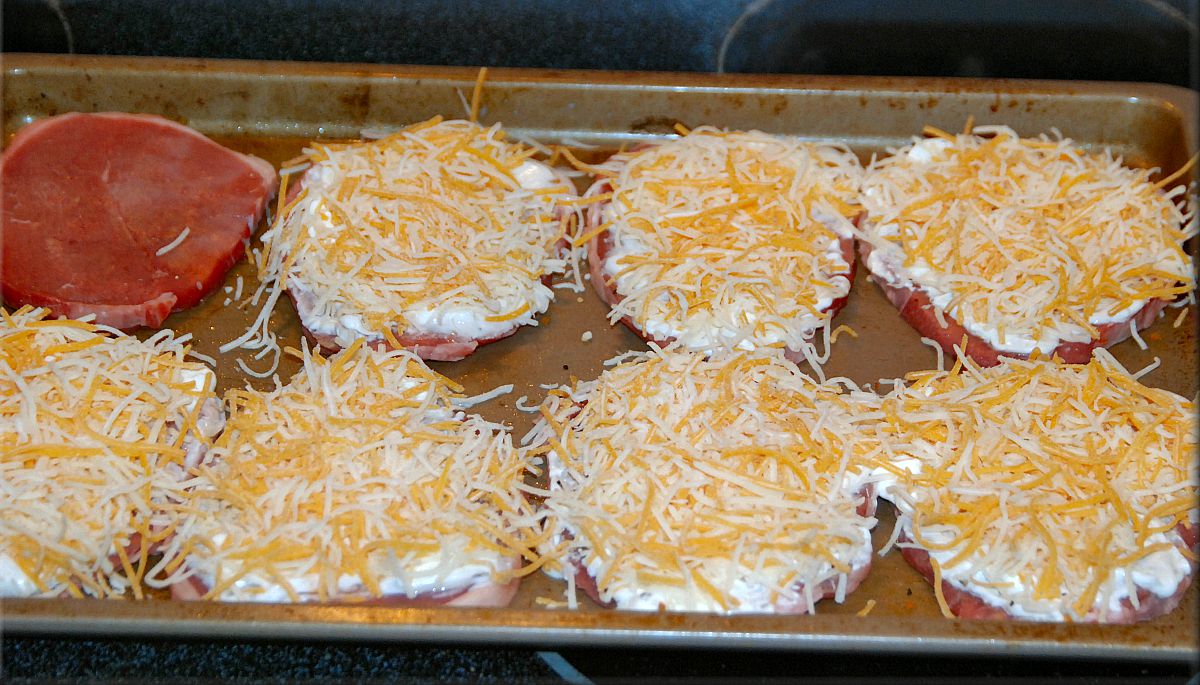
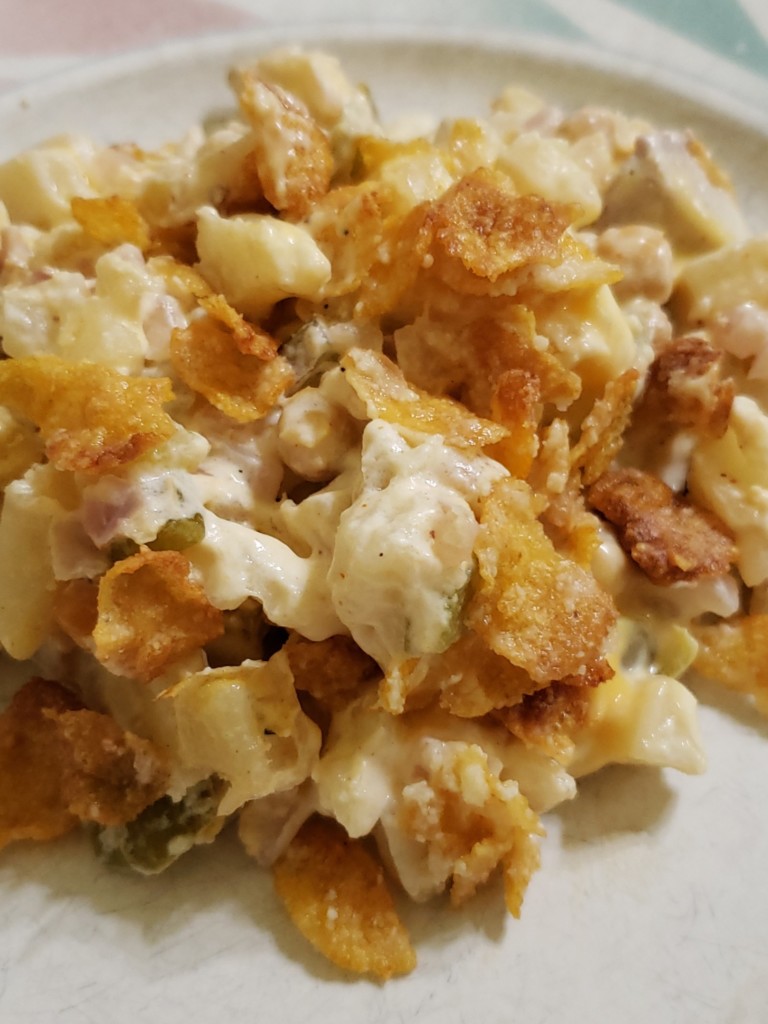
Let’s start with the star of the show - the cheesy pork chops! These succulent chops are smothered in a generous amount of melted cheese, creating a deliciously gooey and cheesy crust. The combination of tender pork and melty cheese is simply irresistible. Trust me, you won’t be able to resist going back for seconds!
Ingredients:
- 4 boneless pork chops
- 1 cup shredded cheddar cheese
- 1 cup shredded mozzarella cheese
- 1 cup cooked rice
- 1/2 cup breadcrumbs
- 1/4 cup grated Parmesan cheese
- 1/4 cup chopped parsley
- 1 teaspoon garlic powder
- 1 teaspoon onion powder
- 1/2 teaspoon salt
- 1/2 teaspoon black pepper
- 1 tablespoon olive oil
Instructions:
- Preheat your oven to 375°F (190°C).
- In a large bowl, combine the breadcrumbs, Parmesan cheese, chopped parsley, garlic powder, onion powder, salt, and black pepper.
- Brush the pork chops with olive oil and coat them evenly with the breadcrumb mixture.
- Place the pork chops in a greased baking dish and bake for 20 minutes.
- Remove the dish from the oven and sprinkle the shredded cheddar and mozzarella cheese over the pork chops.
- Return the dish to the oven and bake for an additional 10 minutes, or until the cheese is melted and bubbly.
- While the pork chops are baking, prepare the rice according to package instructions.
- Once the rice is cooked, fluff it with a fork and set aside.
- Remove the pork chops from the oven and let them rest for a few minutes.
- Serve the cheesy pork chops over a bed of cooked rice and enjoy!
How to Prepare:
The preparation for this cheesy pork chop casserole couldn’t be easier. Simply follow the instructions above and you’ll have a mouthwatering dish ready to devour in no time. The trick to achieving maximum cheesiness is to generously coat the pork chops with the breadcrumb mixture and to use a combination of cheddar and mozzarella cheese.
Preparation Time:
This cheesy masterpiece can be on your table in just 30 minutes! That’s right, with only a few simple steps, you’ll have a delicious and cheesy pork chop casserole that will impress your family and friends.

Servings:
This recipe serves 4 hungry pork chop enthusiasts. Adjust the quantities accordingly if you have more or less mouths to feed. And trust me, you’ll want to make sure you have leftovers for the next day!
Nutrition Facts:
Now, I know what you’re thinking - how can something this cheesy be good for you? Well, let’s not dwell on the nutrition facts too much and just enjoy this cheesy goodness guilt-free. We all deserve a little indulgence every now and then, right?
Tips:
Here are some tips to take your cheesy pork chop casserole to the next level:
- For extra flavor, marinate the pork chops in your favorite marinade for a few hours before baking.
- Feel free to experiment with different types of cheese, such as Gouda or Swiss, to add a unique twist to the dish.
- Serve the cheesy pork chops with a side of steamed veggies or a fresh salad to balance out the richness.
FAQs:
Q: Can I use bone-in pork chops instead of boneless ones?
A: Absolutely! Bone-in pork chops will work just as well in this recipe. Just make sure to adjust the cooking time accordingly, as they may take a bit longer to bake.
Q: Can I make this dish ahead of time?
A: Definitely! You can assemble the casserole ahead of time and refrigerate it until you’re ready to bake. Just be sure to increase the baking time slightly if you’re starting with a chilled casserole.

There you have it - a hilariously cheesy pork chop casserole with rice that will have you coming back for more. This dish is the perfect combination of comfort and flavor, and it’s guaranteed to put a smile on your face. So why wait? Grab your apron and get ready to dig into cheesy heaven!
Sources: Image 1, Image 2, Image 3, Image 4, Image 5, Image 6